Five Star Fence and Stain Expert Tips, Techniques & Real Projects
A wooden fence is more than just a boundary; it’s a statement of your home’s exterior aesthetics and a protector of property. The right stain can extend a fence’s lifespan, prevent damage from weather and pests, and significantly improve the overall appearance of your backyard. Five Star Fence and Stain is one of the leading solutions that combines advanced wood protection with aesthetic enhancement.
In this guide, we will explore why staining is crucial, the best techniques and tools, real-world examples, technology benefits, and practical use cases to maximize fence durability and visual appeal.
Why Staining Your Fence is Essential
Staining a fence is far more than just adding color. It provides comprehensive protection and helps maintain structural integrity. Key advantages include:
-
Protection Against Water Damage: Wooden fences absorb water easily, leading to rot and warping over time. Quality stain prevents water penetration.
-
UV Protection: Sunlight can fade natural wood colors. Five-Star stains include UV-resistant properties to maintain appearance.
-
Insect Resistance: Proper sealing prevents termites and wood-boring insects from damaging the fence.
-
Enhanced Aesthetic Appeal: A well-stained fence elevates your property’s look, boosting curb appeal and homeowner pride.
Without proper staining, fences quickly deteriorate, reducing their lifespan and requiring costly repairs.
Planning and Preparing for Five-Star Fence and Stain
Before applying any stain, meticulous planning and preparation are necessary for a flawless result.
-
Assess the Wood: Inspect for rot, mold, or damaged boards. Replace or repair as needed.
-
Select Stain Type: Semi-transparent stains highlight wood grain, while solid stains provide maximum coverage and protection.
-
Clean the Surface: Remove dirt, mildew, or old stains using pressure washing or wood cleaner solutions.
-
Check Weather Conditions: Apply stain on dry days with mild temperatures for optimal absorption.
Proper preparation ensures long-lasting results and prevents common issues such as blotchy finishes or peeling.
Modern Techniques and Technology for Fence Staining
Advancements in staining technology make projects more efficient and durable:
-
Airless Sprayers: Provide even coverage for large fences while saving time compared to brushes.
-
Moisture Meters: Ensure wood is dry enough to absorb stain effectively.
-
UV-Resistant and Water-Repellent Stains: Extend the life of fences in sun-exposed or rainy areas.
-
Sealants and Topcoats: Offer an extra protective layer to prevent scratches and moisture damage.
Using these technologies not only improves durability but also ensures a professional finish for every project.
Real-World Examples of Fie Star Fence and Stain Projects
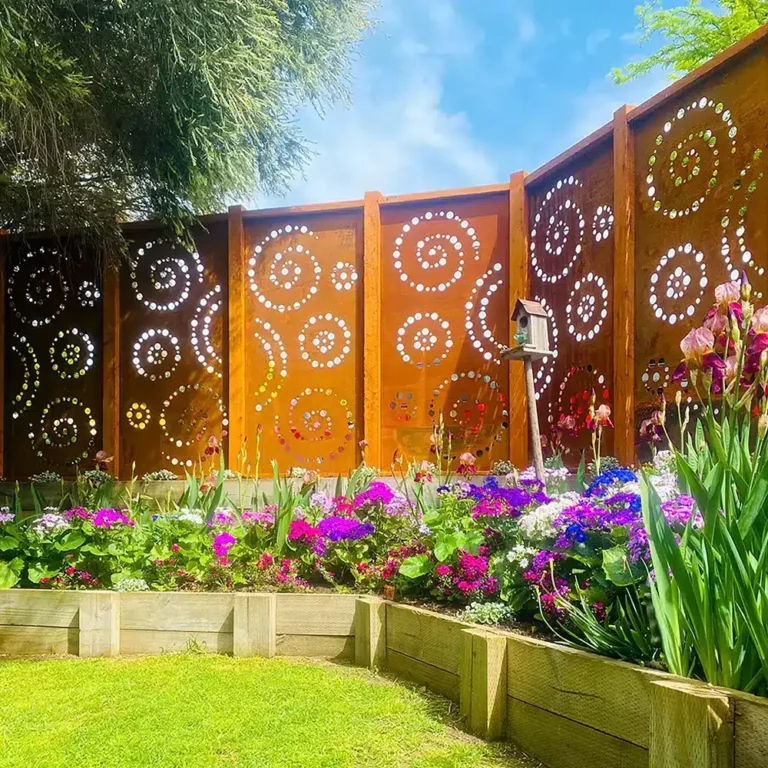
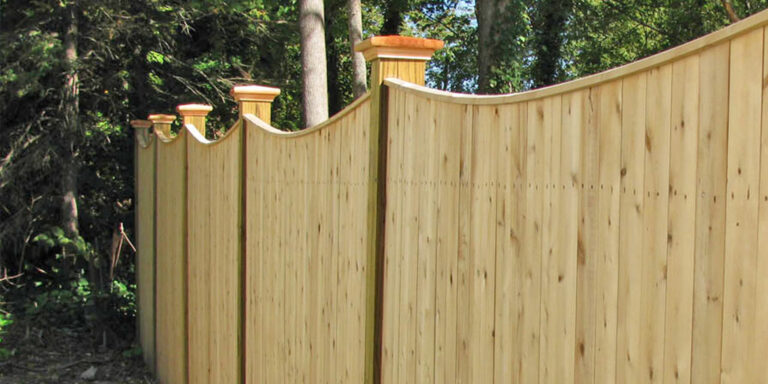
Example 1: Cedar Garden Fence

A backyard cedar fence was enhanced with a semi-transparent stain, preserving its natural wood patterns while providing water and UV protection. Regular maintenance ensures the fence remains beautiful throughout the seasons.
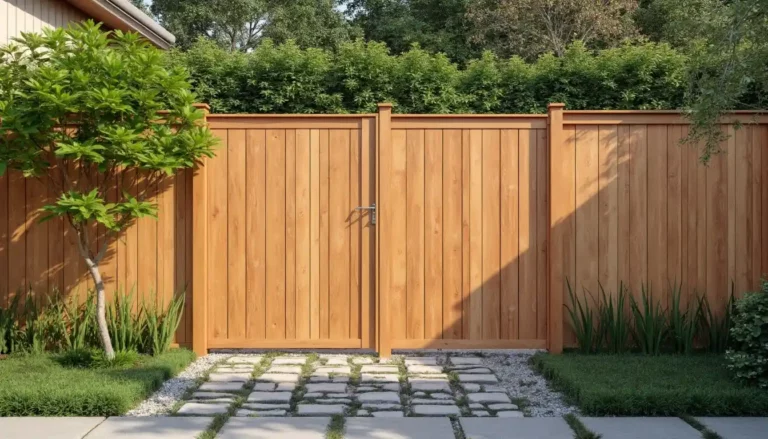
Example 2: Pine Fence Restoration
A worn-out pine fence received a solid-color stain after sanding and cleaning. This process protected against moisture, prevented warping, and provided a uniform color that revitalized the backyard.
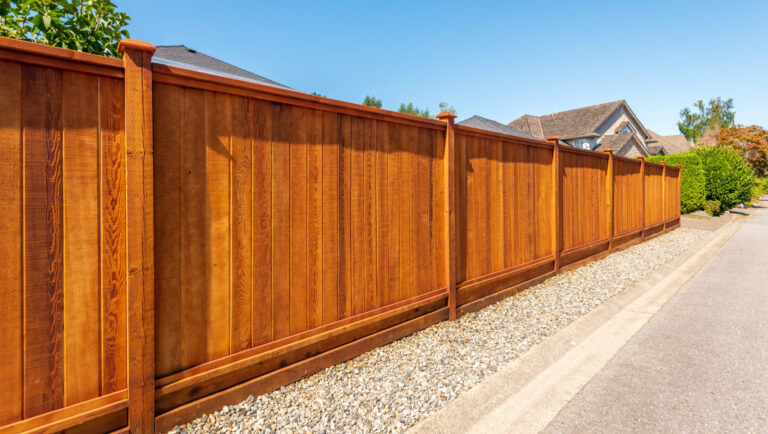
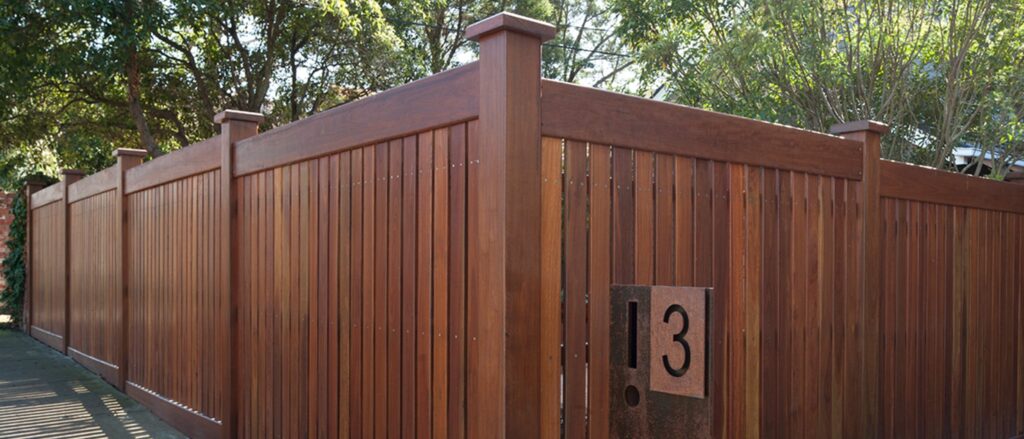
Example 3: Redwood Privacy Fence
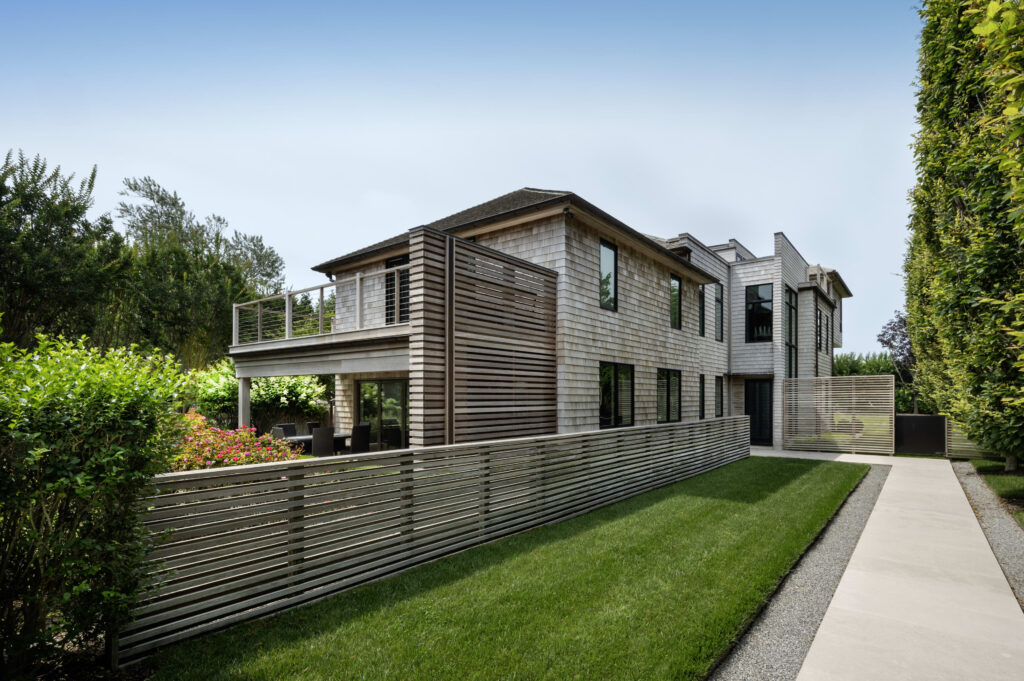
Redwood fencing received a semi-transparent finish that highlighted the natural tones while ensuring long-term protection against UV rays and moisture. The result is a strong, visually appealing privacy barrier.
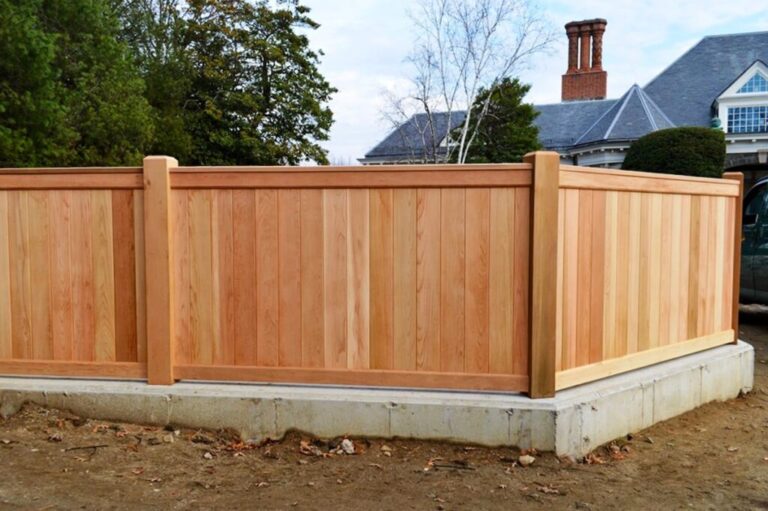
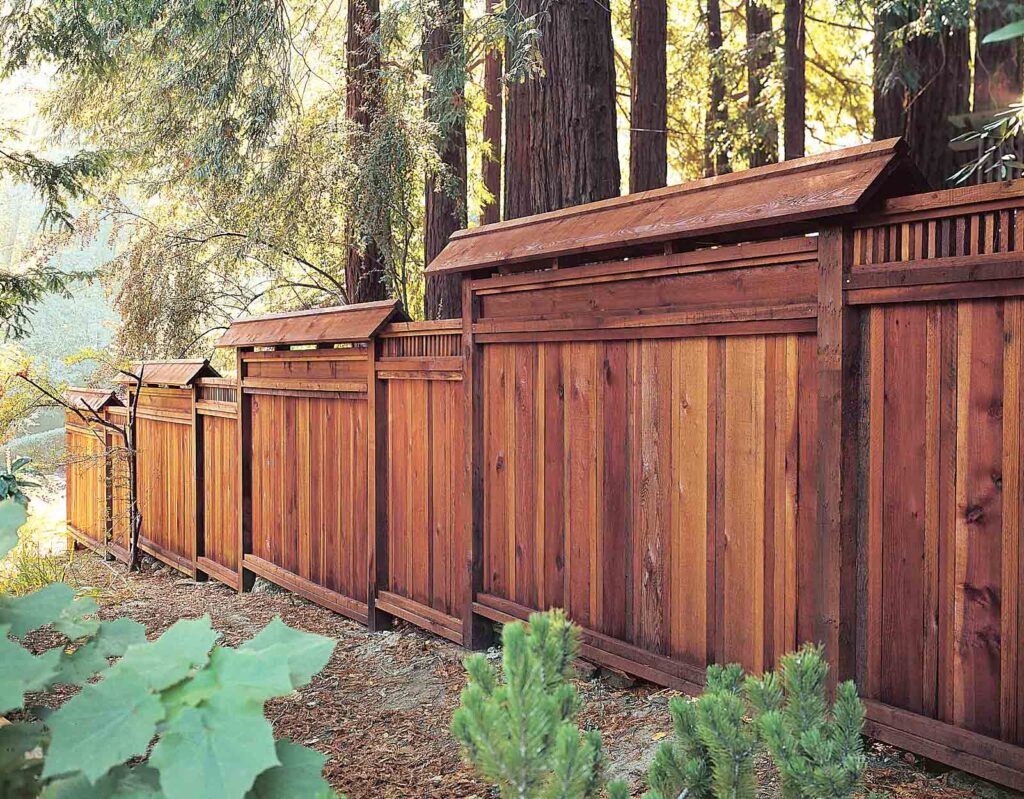
Example 4: Mixed Wood Fence Project
For a fence with multiple wood types, customized stains were used to achieve a uniform look. Each wood type was treated according to its absorption and durability needs, creating a cohesive and durable structure.
Example 5: Pet-Friendly Dog Run Fence
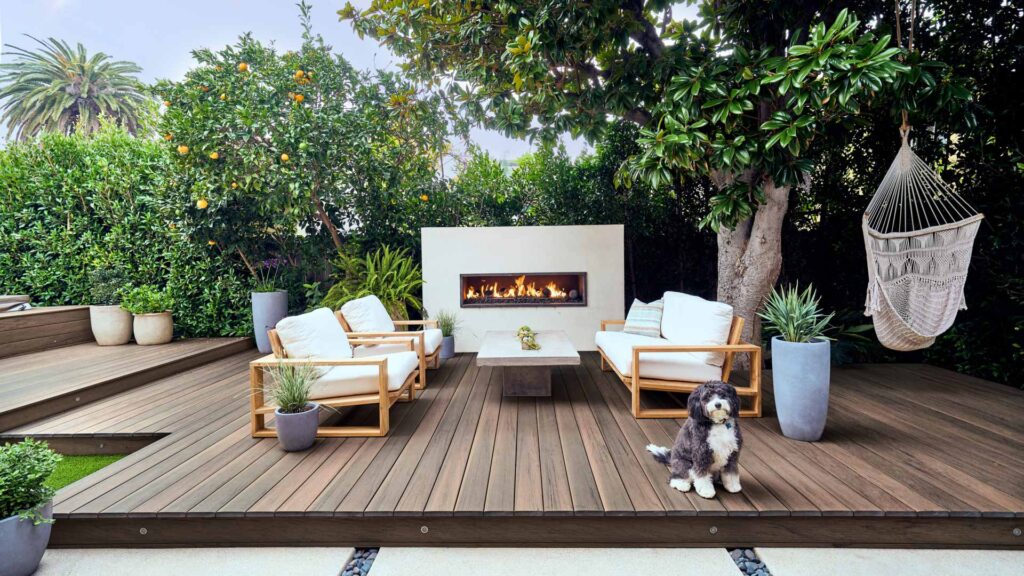
A dog area fence required a stain that could withstand scratches and moisture. A solid, durable finish was applied, keeping pets safe while maintaining an attractive backyard environment.
Benefits of Using Five-Star Fence Stains
-
Durability: Protects against moisture, sun damage, and physical wear.
-
Reduced Maintenance: Fewer reapplications needed over time.
-
Enhanced Appearance: Highlights natural grain or provides uniform color.
-
Pet Safety: Smooth, sealed surfaces reduce splinters.
-
Weather Resistance: Guards against rain, humidity, and UV rays.
Practical Use Cases
-
Maintain Visual Appeal: Keeps fences looking fresh and polished.
-
Weather Protection: Reduces warping, rotting, and sun damage.
-
Scratch & Wear Resistance: Ideal for high-traffic areas or properties with pets.
-
Boost Property Value: Enhances curb appeal with a professional look.
-
Ease of Cleaning: Stained surfaces repel dirt and are easier to maintain.
Step-by-Step Staining Process with Five Star Products
-
Clean the Fence: Remove dirt, mold, and old stains with pressure washing or gentle scrubbing.
-
Repair Damages: Replace rotten boards and fix loose nails.
-
Sand Rough Surfaces: Ensure a smooth surface for stain absorption.
-
Apply Stain: Use brushes, rollers, or airless sprayers for even coverage.
-
Allow Proper Drying Time: Dry for at least 24–48 hours, depending on weather conditions.
-
Apply Sealant if Needed: For extra durability and scratch resistance.
Following this method guarantees optimal protection and longevity.
Common Mistakes to Avoid
-
Staining Wet Wood: Leads to poor absorption and uneven color.
-
Skipping Cleaning: Dirt and mildew can prevent proper adhesion.
-
Ignoring Wood Type Differences: Some woods absorb stain differently, requiring adjustments.
-
Applying Too Thick: Thick layers can peel or crack over time.
Avoiding these mistakes ensures professional results every time.
Frequently Asked Questions
Q1: How long does a Five-Star stain last?
A1: Typically, 2–4 years depending on weather, wood type, and exposure.
Q2: Can I use Five Star stains on pressure-treated wood?
A2: Yes, after ensuring the wood is properly dried and cleaned. Some pressure-treated woods may require a primer or additional sealing.
Q3: Is a professional application necessary?
A3: Professionals guarantee proper prep, consistent application, and long-lasting results, but DIY is feasible for small areas with careful technique.