Fence Repair and Staining – Complete Maintenance Guide
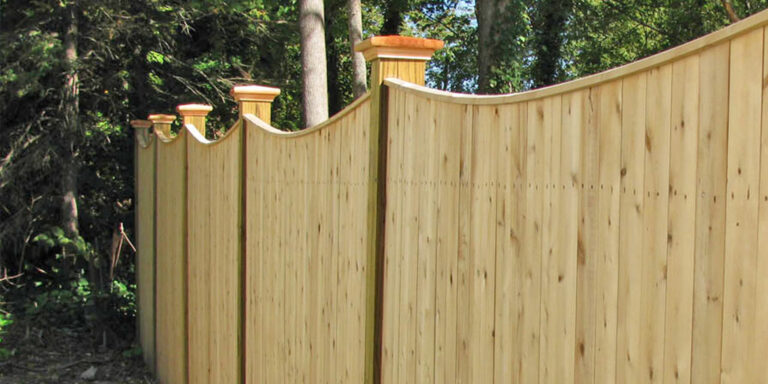
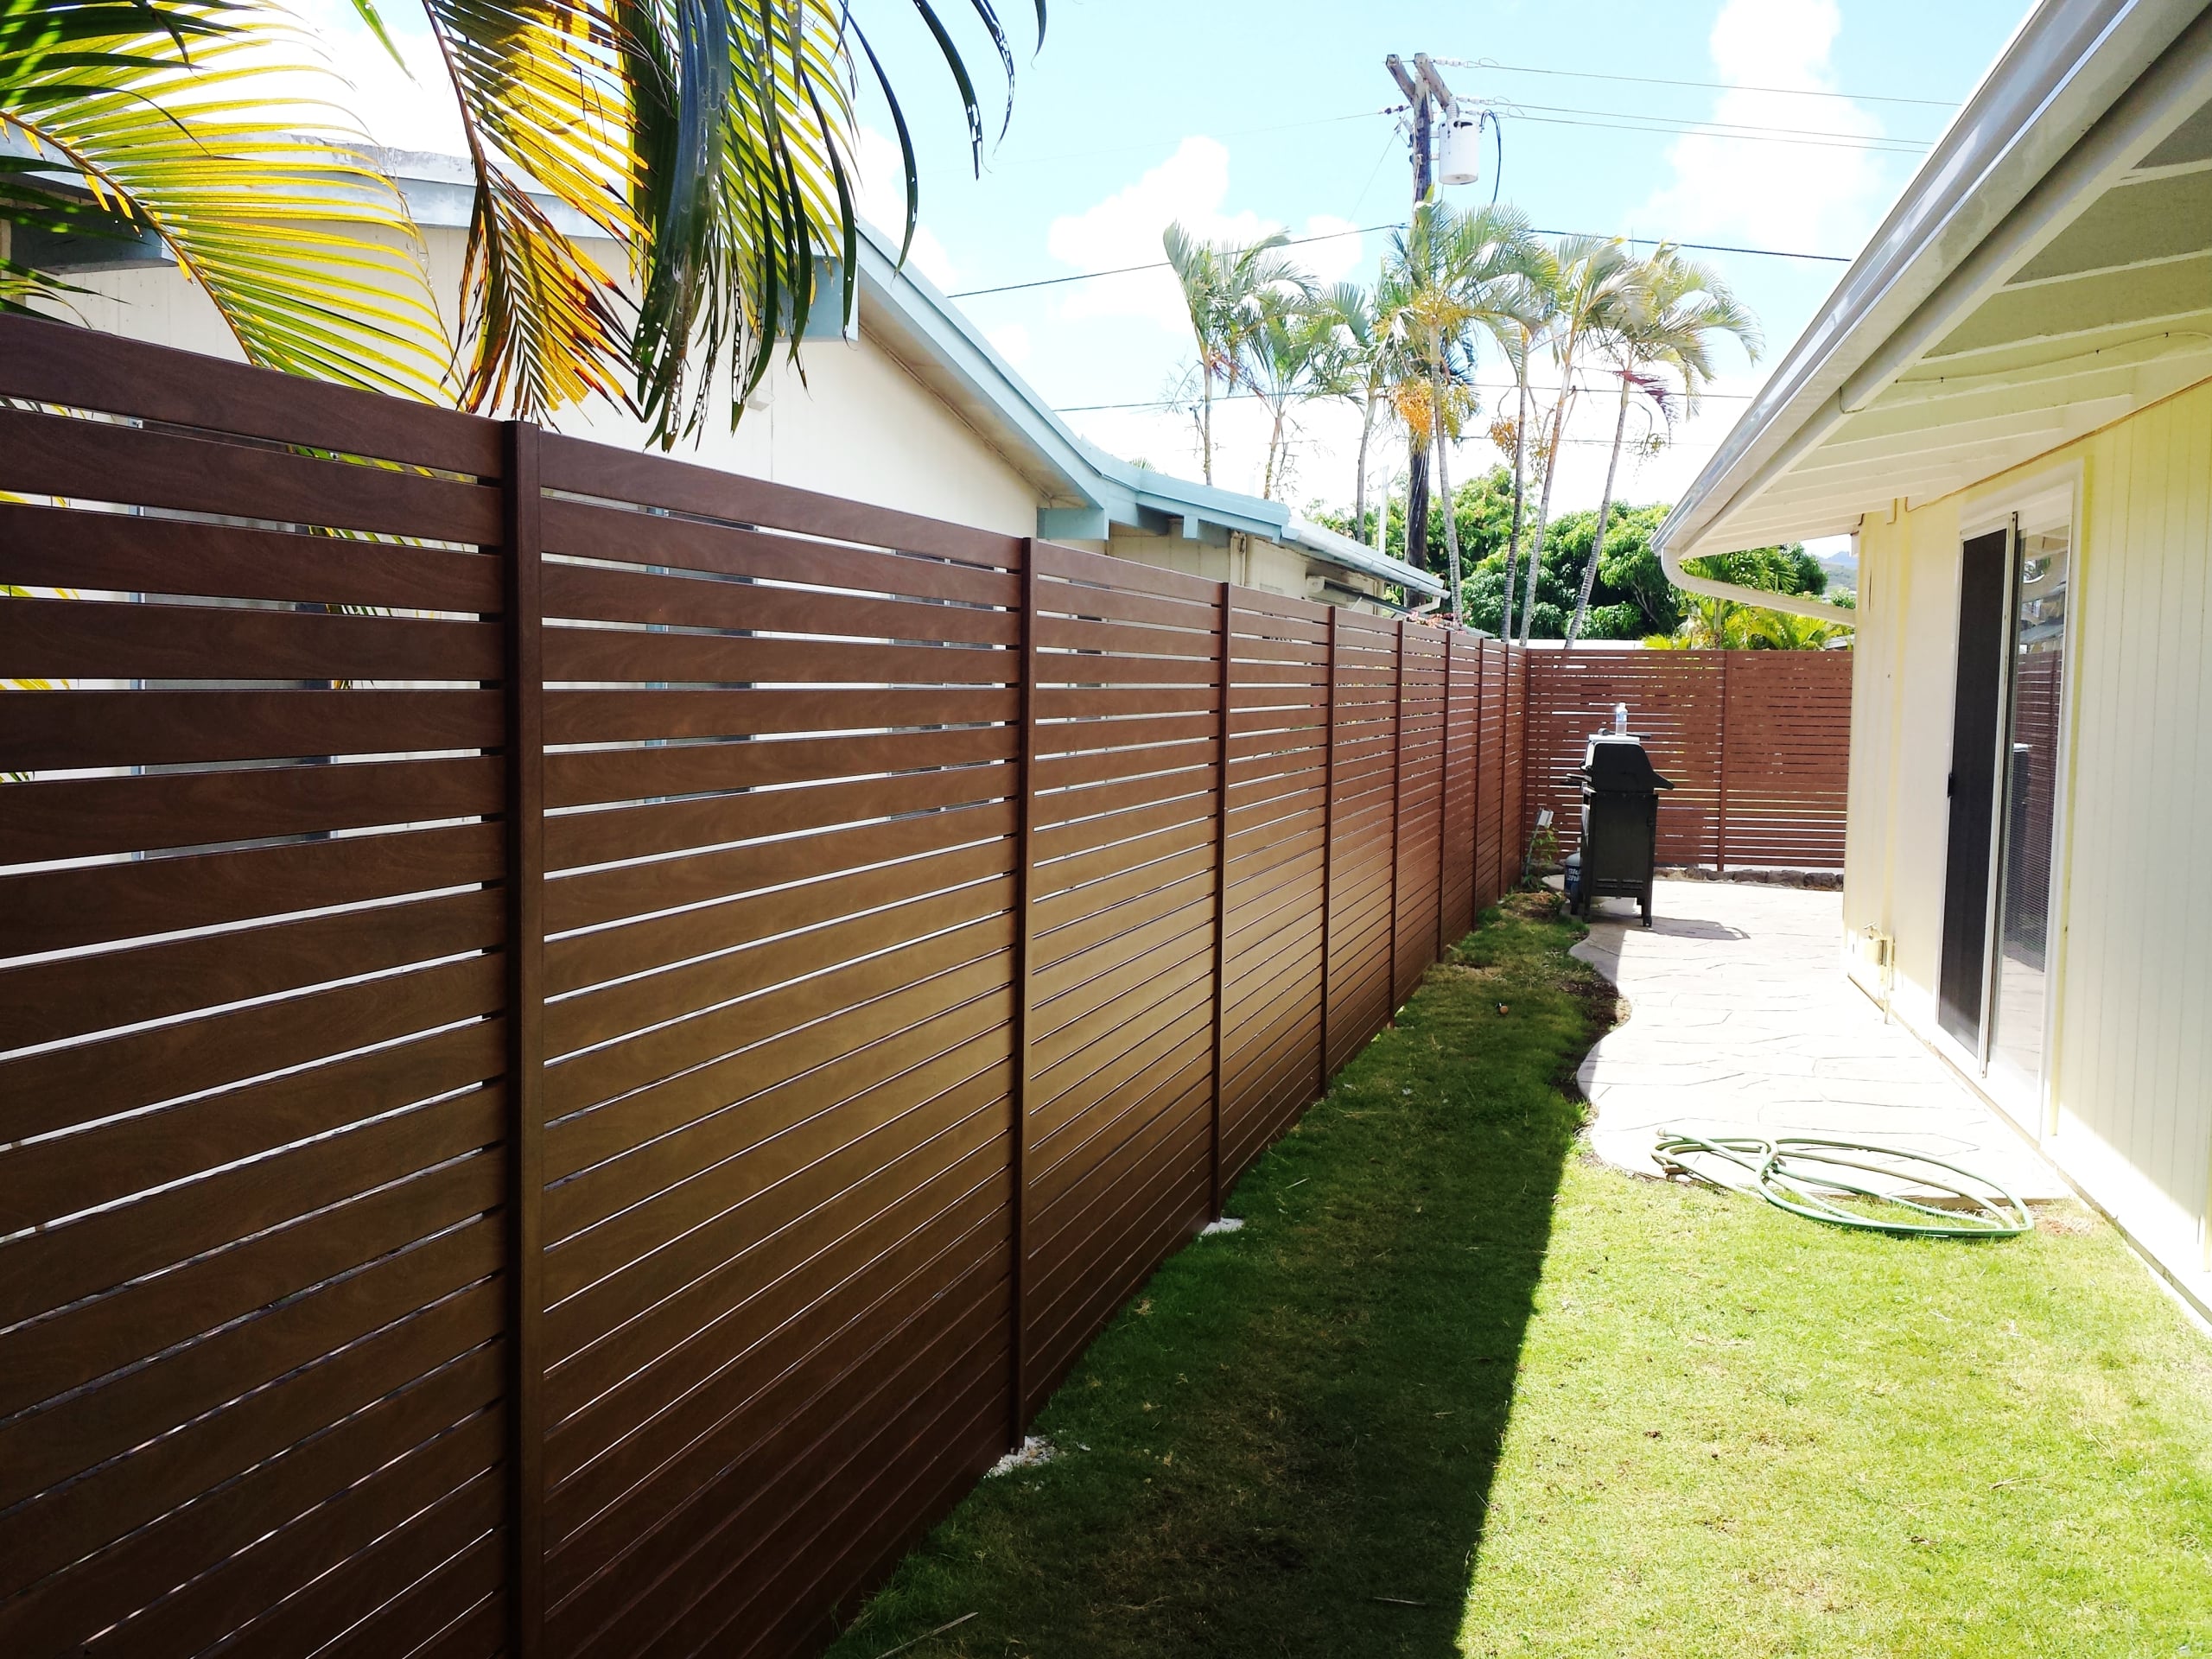
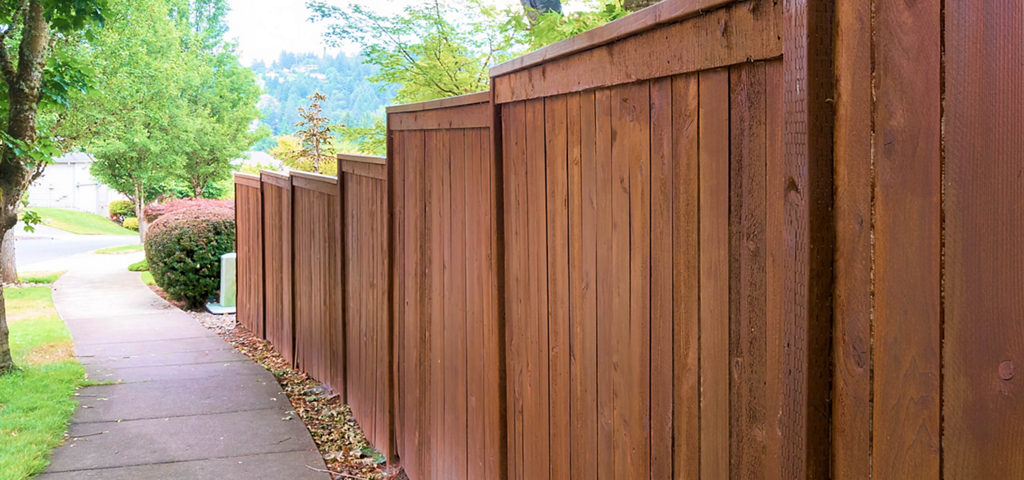
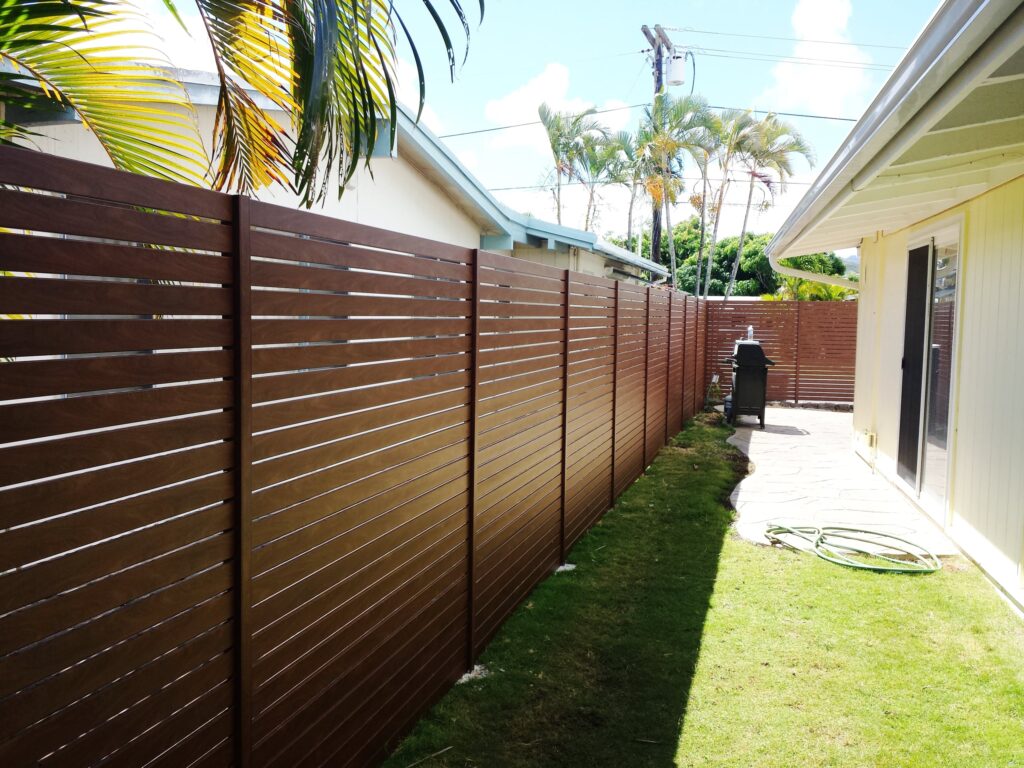
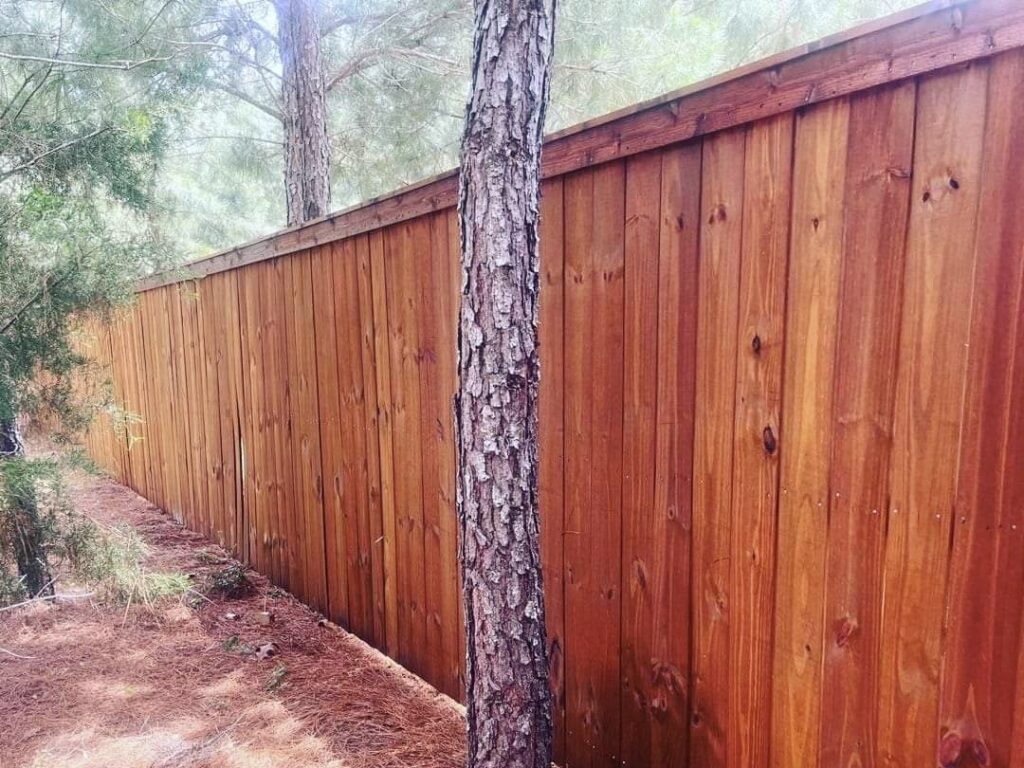
Fence repair and staining are two essential maintenance practices that keep wooden fences strong, attractive, and protected from environmental damage. Over time, exposure to sun, rain, wind, and pests can cause fences to warp, crack, or lose their original color. Without timely intervention, these problems can escalate, leading to costly replacements.
Combining repair and staining services not only restores your fence’s structural integrity but also enhances its appearance. While repairs fix visible damage, staining acts as a protective shield, helping your fence resist weather, moisture, and UV rays for years to come.
Why Fence Repair Should Come Before Staining
Ensuring Structural Integrity
Repairing your fence before staining is essential. Even the most high-quality stain won’t help if the wood beneath is cracked, rotted, or unstable. Professionals often start by replacing broken boards, tightening loose nails, and fixing leaning posts to ensure a solid foundation.
Skipping this step could trap moisture inside damaged wood, accelerating decay instead of preventing it.
Preventing Long-Term Damage
A small split in a fence board might not seem urgent, but when combined with constant exposure to water and sunlight, it can quickly expand. Repairing minor damage before staining prevents further deterioration, ensuring that the protective finish can do its job effectively.
The Step-by-Step Process of Fence Repair and Staining
Step 1: Detailed Inspection
Professionals begin with a thorough inspection to identify weak spots, loose hardware, or warped sections. This assessment also determines the type of wood and the best stain formulation for maximum durability.
Inspection is a critical stage because it allows for tailored solutions rather than a one-size-fits-all approach.
Step 2: Cleaning and Preparation
Before applying any stain, the fence is cleaned to remove dirt, algae, and old finishes. Power washing is a common method, but in cases where the wood is fragile, hand-scrubbing or low-pressure washing may be used.
After cleaning, the fence must dry completely. In humid climates, this can take 24–48 hours to ensure the stain adheres properly and evenly.
Step 3: Repair Work
Repair tasks may include replacing broken boards, tightening fasteners, reinforcing posts, and sealing small cracks with wood filler. The goal is to restore the fence’s strength so that staining can provide lasting results.
Step 4: Staining Application
Once repairs are done, the stain is applied using brushes, rollers, or sprayers. Professionals may apply multiple coats for enhanced protection, especially in regions with extreme weather. Each coat is allowed to dry fully before the next application.
Choosing the Right Stain for Your Fence
Oil-Based vs Water-Based
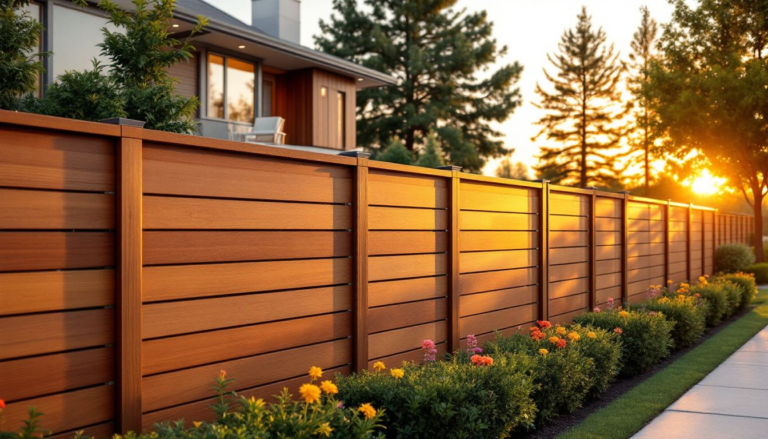
Oil-based stains penetrate deep into the wood, offering superior water resistance and a rich finish. They are ideal for older fences that need rejuvenation. Water-based stains dry faster, are easier to clean up, and provide strong UV resistance, making them suitable for sunny climates.
Both have advantages, and a professional can help determine which option best fits your fence’s needs.
Color and Transparency Options
Transparent stains show off natural wood grain, while semi-transparent stains add color while preserving texture. Solid stains completely cover the wood grain, offering the most UV protection but changing the fence’s original look.
Your choice depends on whether you prioritize natural beauty or maximum protection.
Real-World Examples of Fence Repair and Staining
Example 1: Weather-Damaged Suburban Fence
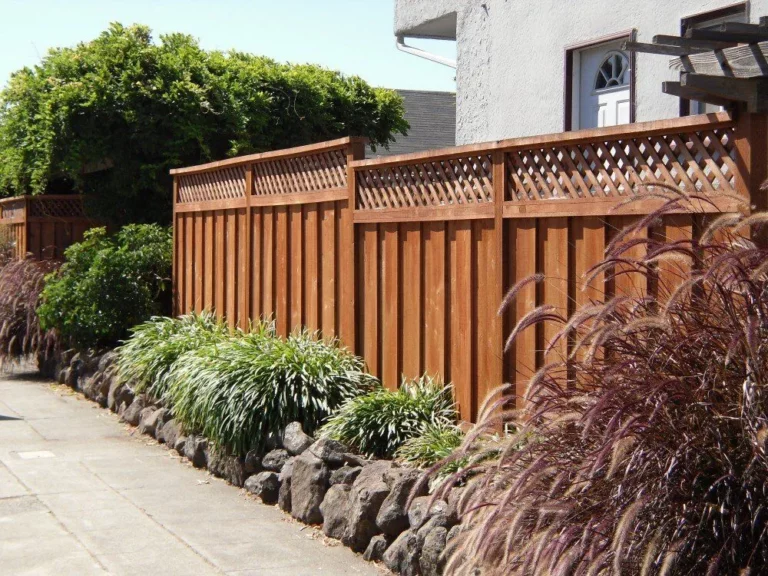
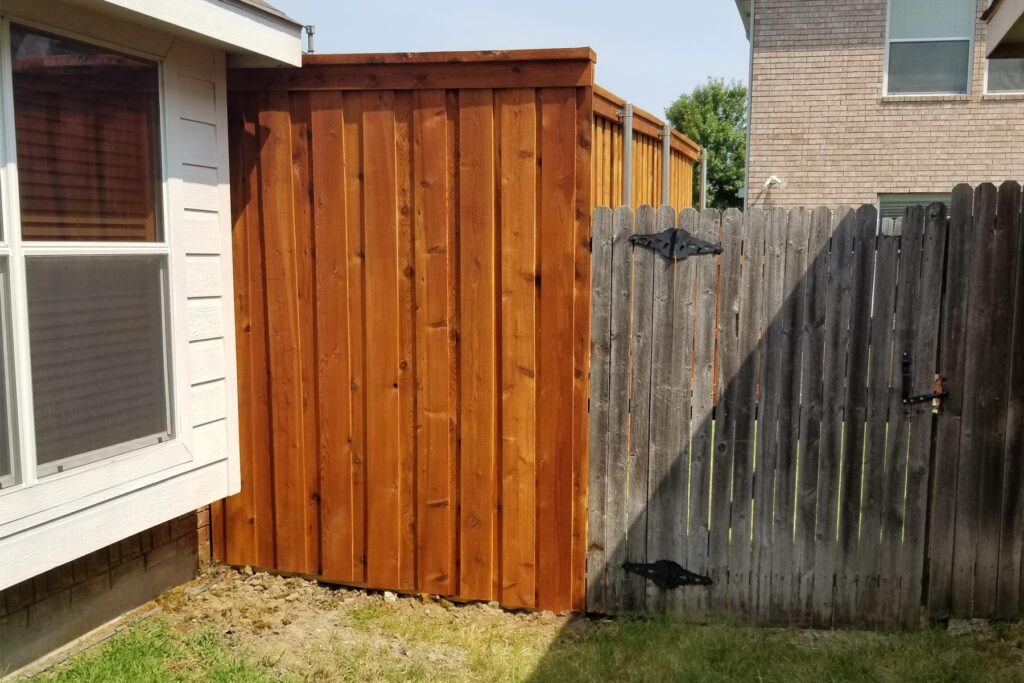
A cedar fence in a suburban neighborhood suffered from fading, warping, and loose nails due to years of sun exposure. The repair team replaced warped boards, secured loose fasteners, and sanded rough spots.
They then applied a semi-transparent oil-based stain to restore the wood’s rich tones and add moisture protection. The result was a fence that looked new and was ready to withstand future weather.
Example 2: Farm Perimeter Fence Restoration
A rural farm fence made of untreated pine was badly affected by rain and frost. The repair crew reinforced leaning posts, replaced rotting boards, and used a mold-resistant primer.
A deep-penetrating oil-based stain was applied to lock out moisture, preventing winter frost damage. The farmer reported fewer repair needs in the following seasons.
Example 3: Coastal Property Salt-Resistant Treatment
A beachfront home had a redwood fence that was deteriorating due to constant salt spray. The repair process included replacing rusted nails with stainless steel ones and sealing all joints.
A marine-grade water-based stain was applied to protect against salt corrosion while preserving the wood’s natural appearance.
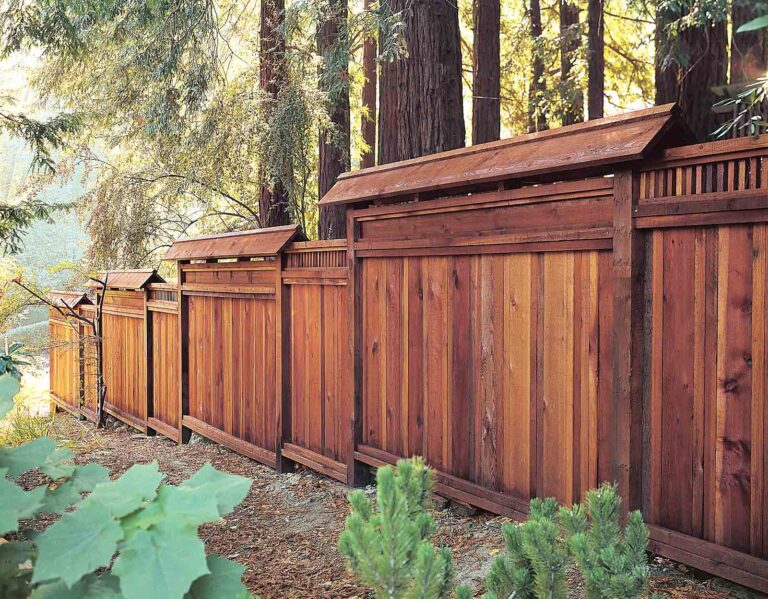
Example 4: Historic Home Fence Preservation
A historic property owner wanted to restore an old oak fence without losing its antique charm. Repairs involved careful board replacement using matching reclaimed wood.
A transparent stain with UV blockers was used to highlight the aged grain while extending the wood’s life.
Benefits of Combining Repair and Staining
Longer Fence Lifespan
When repairs are combined with staining, your fence can last significantly longer, sometimes even doubling its original lifespan. Staining prevents the repaired sections from quickly degrading, ensuring a consistent look and durability.
Cost Savings Over Time
Regular repair and staining reduce the need for full fence replacements, saving homeowners thousands of dollars in the long run. The upfront investment pays off in fewer emergency fixes.
Improved Curb Appeal
A well-maintained fence enhances the overall look of your property. Freshly stained wood adds warmth and character, making your home appear well cared for.
Common Use Cases
-
Post-Storm Recovery: Repairing and staining fences damaged by strong winds or heavy rains.
-
Seasonal Maintenance: Preparing fences for harsh summers or icy winters.
-
Real Estate Prep: Improving the fence’s appearance to increase property value before selling.
-
Long-Term Preservation: Keeping historic or sentimental fences in good condition for decades.
FAQs
1. How often should I repair and stain my fence?
Minor repairs should be done as soon as damage is noticed. Staining is typically recommended every 3–5 years, depending on climate and stain type.
2. Can staining hide existing damage?
No. Staining can enhance the appearance of wood, but won’t fix structural issues. Repairs should always be completed first.
3. Is professional service better than DIY?
Professional services offer expertise, high-quality tools, and product knowledge, which usually result in longer-lasting and better-looking results compared to DIY.