Sealing a fence is one of the most effective ways to protect your wood, enhance its appearance, and extend its lifespan. The cost to seal a fence depends on several factors, including wood type, fence size, stain or sealant type, labor, and additional preparation. In this article, we explore the cost factors, step-by-step process, real-world examples, benefits, and practical use cases to help homeowners make informed decisions.
Why Fence Sealing Matters
Sealing a fence does more than just add a glossy or matte finish. Its key advantages include:
-
Protection Against Water Damage: Wood absorbs moisture, which can lead to warping, rotting, and mold. A good sealant prevents this.
-
UV Protection: Sunlight can fade natural wood over time. Sealants often contain UV inhibitors to preserve the fence’s color.
-
Pest Resistance: Properly sealed wood resists termite and insect damage.
-
Aesthetic Enhancement: Sealing brings out natural wood grain and improves curb appeal.
Neglecting to seal your fence can result in faster deterioration, costly repairs, and a less attractive backyard environment.
Factors Affecting the Cost to Seal a Fence
Several key factors determine the overall cost of sealing a fence:
-
Fence Size: Longer or taller fences require more sealant and labor time, directly affecting cost.
-
Wood Type: Hardwoods and softwoods absorb sealants differently. Softwoods like pine require more coats.
-
Preparation Needs: Cleaning, sanding, or repairing damaged boards adds to labor costs.
-
Sealant Type: Semi-transparent, solid-color, or clear sealants vary in price and coverage.
-
Labor vs. DIY: Professional services may charge more upfront, but ensure uniform coverage and long-lasting results.
Each factor plays a role in budgeting for a fence sealing project.
Step-by-Step Fence Sealing Process
Step 1: Clean and Prepare the Fence
Removing dirt, mold, mildew, and old stains ensures proper adhesion of sealant. Pressure washing or gentle scrubbing can make a big difference.
Step 2: Repair Damages
Replace rotten boards, tighten loose nails, and sand rough edges. Proper preparation prevents uneven absorption and premature peeling.
Step 3: Choose and Apply Sealant
Select the appropriate sealant type for your wood and climate. Apply using brushes, rollers, or sprayers, ensuring full coverage on all surfaces.
Step 4: Allow Drying
Drying times vary based on weather, sealant type, and wood species. Usually, 24 hours are needed for full curing.
Real-World Examples of Fence Sealing
Example 1: Cedar Backyard Fence

A cedar fence was sealed with a semi-transparent stain, enhancing its natural grain while providing water and UV protection. This project required minimal maintenance over two years.
Example 2: Pine Front Yard Fence

A softwood pine fence was cleaned, sanded, and coated with solid-color sealant. The finish provided uniform protection and revitalized the property’s curb appeal.
Example 3: Redwood Privacy Fence
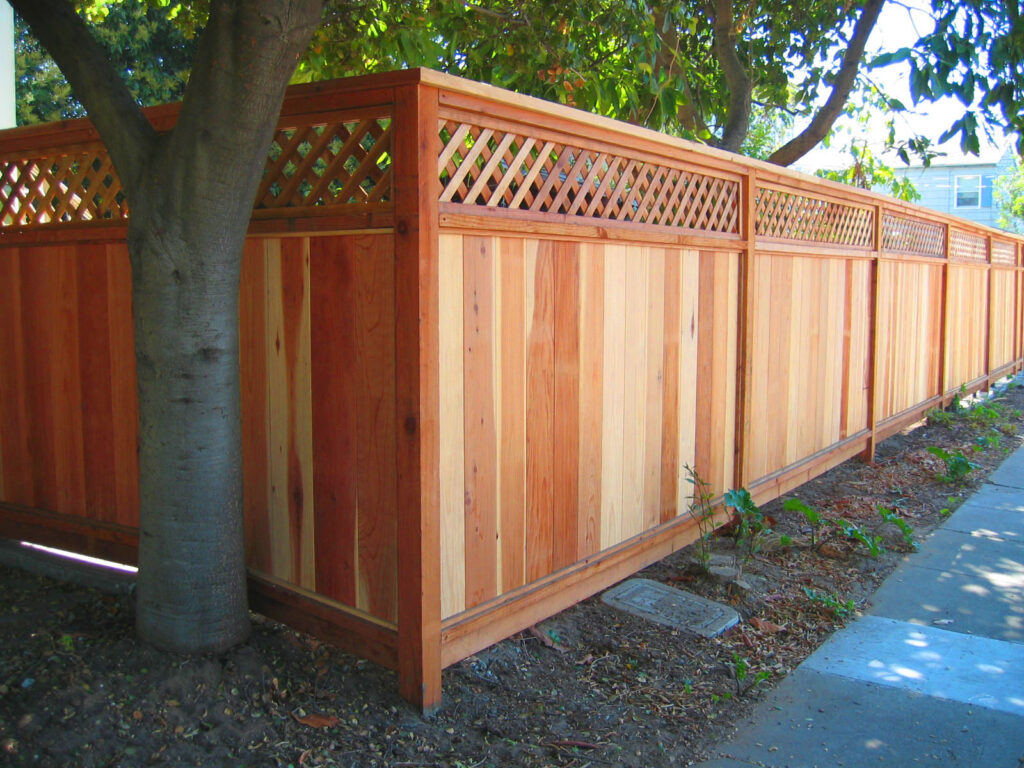
Redwood fencing received a semi-transparent sealant. The project preserved the wood’s natural hues and protected it from UV rays and heavy rain.
Example 4: Mixed Wood Community Fence

For a fence with different wood types, a customized approach ensured each section absorbed sealant properly, creating a cohesive and long-lasting barrier.
Example 5: Pet-Friendly Dog Run Fence
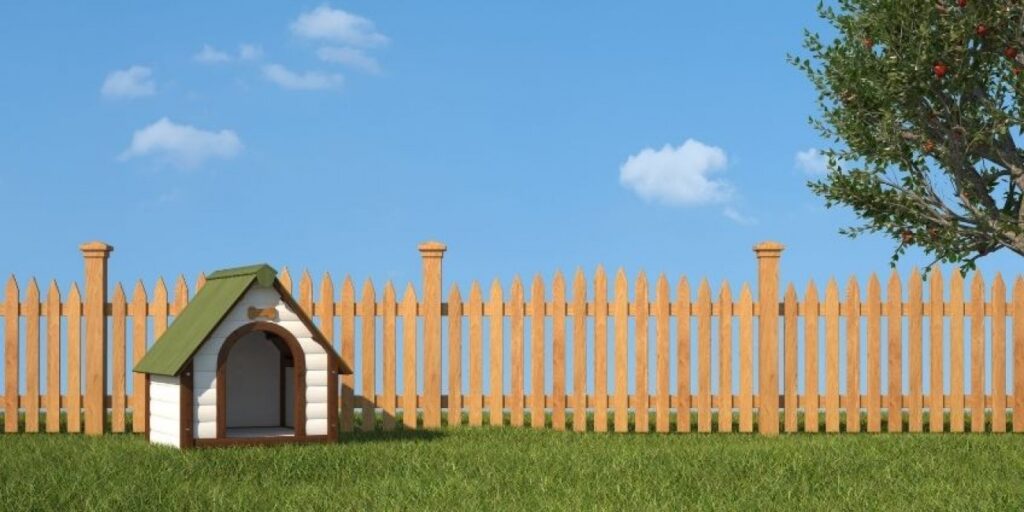
A high-traffic dog area required a solid, durable sealant. The result was a scratch-resistant, waterproof surface that maintained an attractive look.
Benefits of Sealing a Fence
-
Durability: Shields wood from moisture, sunlight, and wear.
-
Reduced Maintenance: Longer intervals between reapplications.
-
Enhanced Appearance: Highlights wood grain or provides a uniform color.
-
Safety for Pets and Children: Smooth, sealed surfaces prevent splinters.
-
Weather Resistance: Protects against rain, snow, and temperature fluctuations.
Practical Use Cases
-
Preserving Aesthetic Appeal: Maintains color and smooth texture.
-
Weatherproofing: Reduces warping, rotting, and cracking.
-
Pet and Family Safety: Prevents splinters and wood damage.
-
Property Value: Improves curb appeal with a professionally finished fence.
-
Ease of Cleaning: Dirt and mildew are easier to wash off sealed wood.
Cost Breakdown and Budgeting Tips
-
DIY Costs: $50–$200 for small fences; includes sealant and basic tools.
-
Professional Labor: $150–,$500+ depending on fence size, wood type, and prep work.
-
Sealant Material: $20–$50 per gallon, depending on brand and type.
-
Additional Prep Costs: Pressure washing rental, sanding, or repair materials.
Planning for these costs upfront helps homeowners avoid unexpected expenses.
Common Mistakes to Avoid
-
Applying to Wet Wood: Causes poor absorption and uneven finish.
-
Skipping Cleaning: Dirt or mildew can prevent sealant adhesion.
-
Ignoring Wood Type Differences: Some woods need multiple coats or primers.
-
Applying Excessive Sealant: Too-thick layers can peel or crack.
Avoiding these mistakes ensures a professional and long-lasting finish.
Frequently Asked Questions
Q1: How often should I seal my fence?
A1: Typically every 2–4 years, depending on climate, wood type, and sealant quality.
Q2: Can I seal a fence myself?
A2: Yes, DIY is feasible with proper preparation, tools, and sealant knowledge. Professionals can guarantee uniform results and save time.
Q3: Does sealing prevent insect damage?
A3: While sealants create a moisture barrier that discourages insects, additional pest treatment may be needed for severe infestations.